
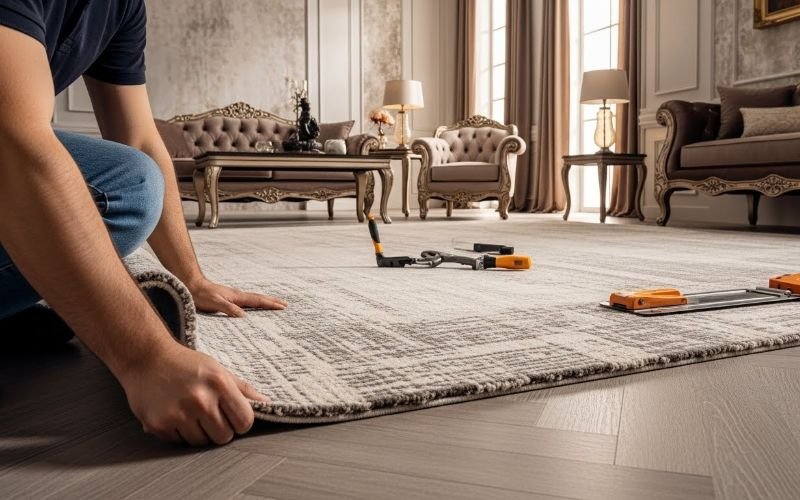
Wall-to-wall carpeting is a total transformation of your interior. Due to its seamless look, it gives a cohesive and visually enlarged ambience.
Dense wall-to-wall carpets not only give an aesthetically pleasing look, but also offer insulation. So, if you are looking for the best carpet option that can optimize your workspace or your home, then wall to wall carpet is the best choice. For a perfect installation of this carpet at home, follow the steps mentioned below.
DIY Wall-to-Wall Carpet Installation Guide

Wall-to-wall carpet offers warmth and foot comfort. Further, the proper installation of this carpet adds acoustic insulation and absorbs the noise from walking. You can save your money and install this wall-to-wall carpet at home by following this effective guide.
Gather Necessary Tools
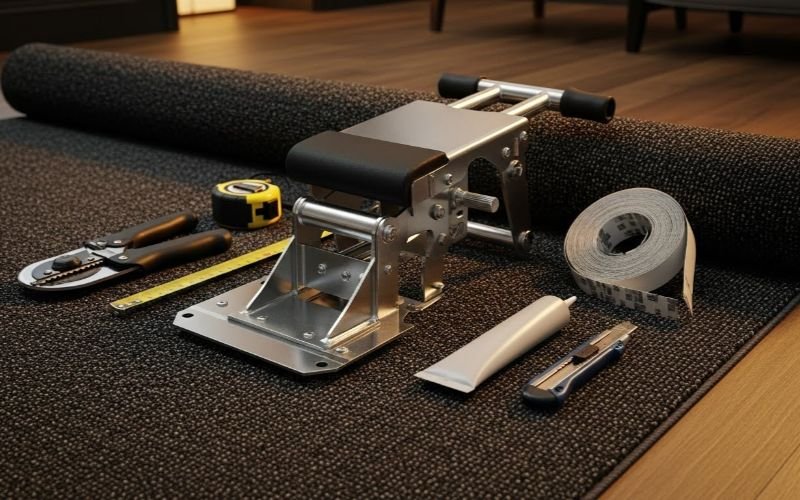
Any carpet installation required a list of tools and equipment that needed to be there while performing the process. Further, here is the detailed list of things that you need.
- Stair Tool
- Pencil
- Tape Measurer
- Knee Pad
- Carpet Roller
- Tack Strip
- Seaming Iron
- Hammer
- Power Stretcher
Note Down Floor Dimension
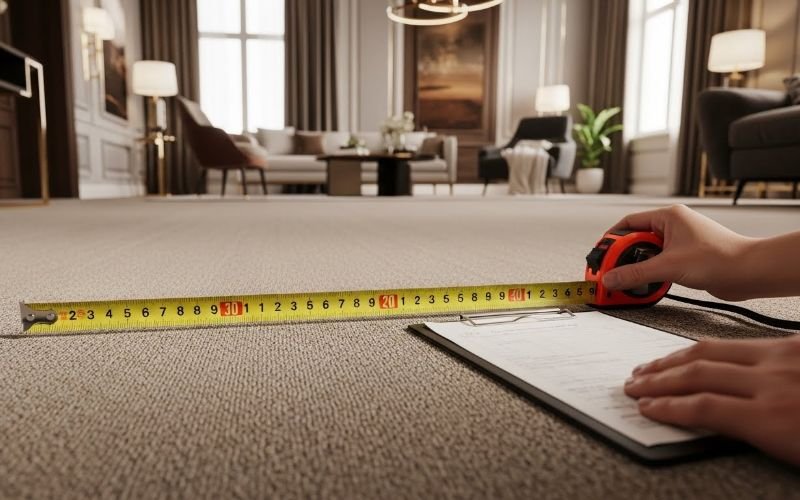
The basic step while installing your wall-to-wall carpet is to take an accurate measurement of the space. Because right measurements can give perfect results, while wrong measurements can result in a shortage of material and supplies. Further, you have to look at how to take the length and width dimensions.
Length
Take a lead pencil and a measuring tape, and start noting down the size on paper. First, place the measuring tape at the end of the room and stretch it to the start. By doing this step, you can count on the whole room length. You have to keep at least 2 inches extra while noting down the length of your room.
Width
Right after measuring the length, you have to note the width of the carpet. So that you can get accurate results in the installation. Further, try to keep at least 2.5-3 inches extra from the width. So that there will be no hassle while cutting the carpet. As trimming can take extra length, and carpet would not fit well till the corners.
Prepare The Subfloor
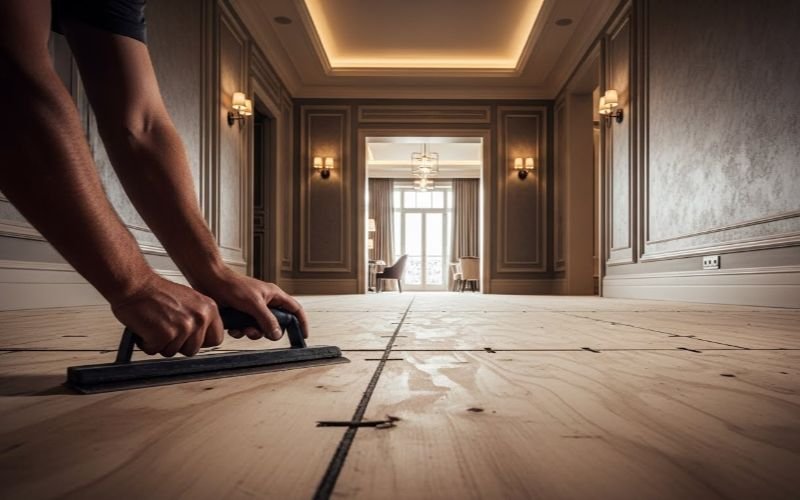
Subfloor preparation is the crucial step during wall-to-wall carpet installation. You have to observe all the nooks and corners before placing the carpet on the area. Start by analysing the floor, then look at any gaps and bumps that make the floor uneven. Next, look for material such as cement or plastic to fill the gaps. After that, take a levelling compound and level the surface of the subfloor. Smooth it with a scrubber so that your carpet underlay can stick well.
Remove Previous Strip
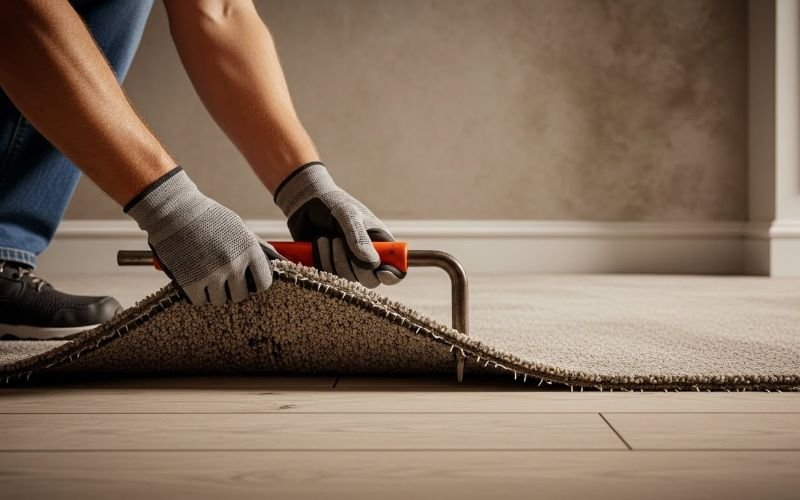
While moving towards the installation step, there came a hassle. You need to remove the old strips if they are in bad condition or torn apart. Further, you can reuse these strips if they are in good condition. That actually depends on your carpet fitting techniques. Experts suggest removing the previous strip from the floor to replace it with a new one. You can utilise the pliers to pull the carpets from the corners. Then, remove all the nails using a hammer. Afterwards, use the putty knife to completely remove the strip from the ground.
Install The Carpet Tack Strip
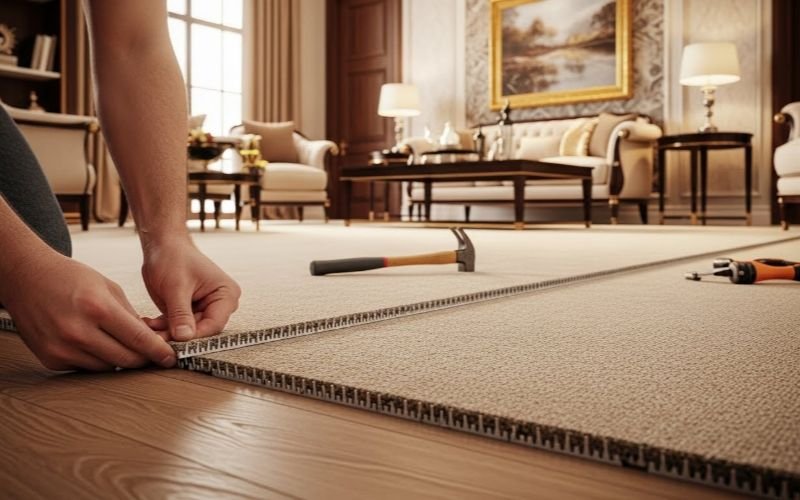
After removing the previous strips, it is time to install your tack strip all over the room. Further, you have to fit the small strips against the wall to give full coverage. Besides, the wooden tacks offer a sturdy base to fix the nails. Further, through the installation of these strips, you can fix the underlay beneath the carpet perfectly. Moreover, it can prevent creases and wrinkles from happening.
Add Some Gap
Besides, make sure to add some gaps between your installed strips and the wall. Besides, keep a space of at least ⅓ inch to avoid carpet accumulation and wrinkles. Further, wall-to-wall carpet tacks can give stretched floor covers. Furthermore, do not directly stick the tacks on the wall they can affect the wall. In addition, check the gap by rolling your fingers between the gaps. Once the gap is confirmed, use the hammer to fix the nails in the strips.
Plan Carpet Layout

While deciding on carpet layout, you must keep in mind the roll size of the carpet. Because it should be 1 inch more than the room length and width. So, if your room dimension is 10*16, then you have to purchase the 11*17-inch carpet roll. Besides, this is done to avoid any hassle while installing the wall-to-wall carpet. Further, take a pencil and paper and make a structure regarding how to place the carpet roll in the place. Devise the layout and apply the plan during installation.
Select Padding & Carpet Material
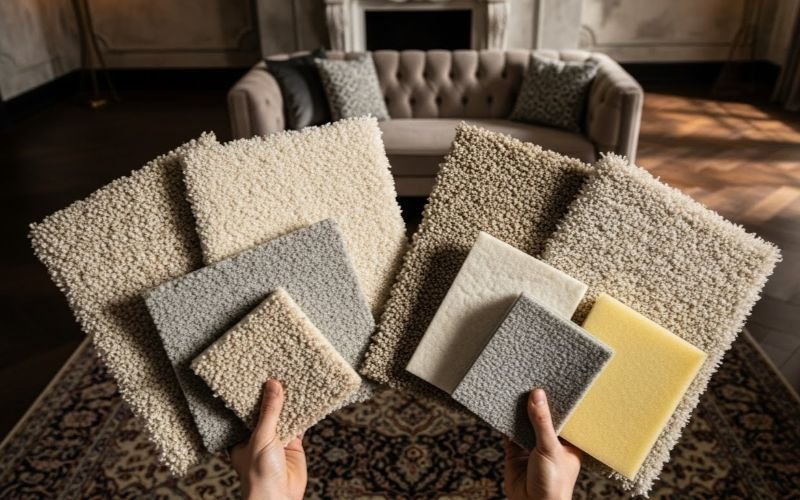
If you want a seamless floor, then make sure to buy the carpet in the right material. Further, take extra caution while choosing the carpet padding because that needs to be sturdy. Further, choose the thick paddings such as rubber and foam, for long-lasting installation results. Moreover, for a high-traffic area, you should buy nylon and olefin carpet. Further, polyester and trixestra wall-to-wall carpet is best for high-traffic spaces.
Add Padding
When you have finalised the carpet padding, the next step is to insert it using the latest tools. Besides, place your carpet pads on the floor surface and keep at least 3 inches extra towards the wall. Further, trim the pad to an accurate size using a knife. Besides, secure the corner of the underlay using staple gun methods. Further, use industry-grade adhesive to secure the padding. Use seaming to fix the padding edges perfectly so that no moisture and dampness can grow beneath.
Roll Out Your Floor Carpet
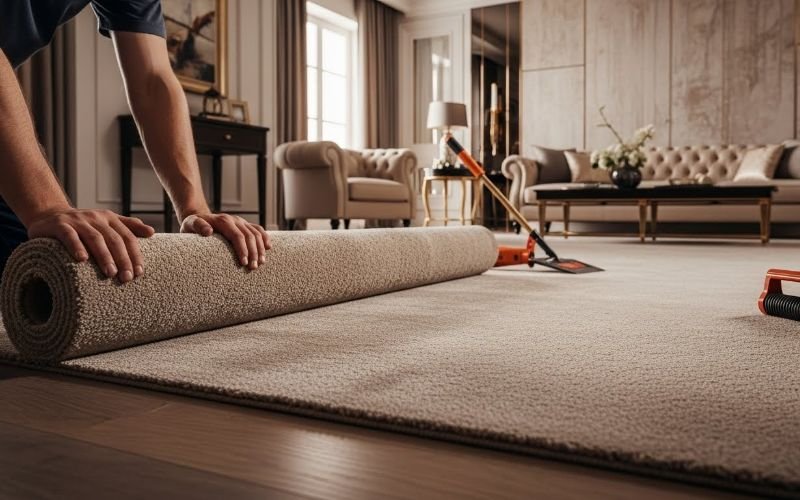
To begin with, take the roll of your carpet. Now, open the roll and drag the corners till the end. Make sure to take the carpet to the basement board of the wall. Further, you need to take a knee kicker to fix it in the baseboard. Moreover, take nails and place them every 5-6 inches. Fit each nail perfectly in the wall-to-wall carpet.
Stretching & Trimming
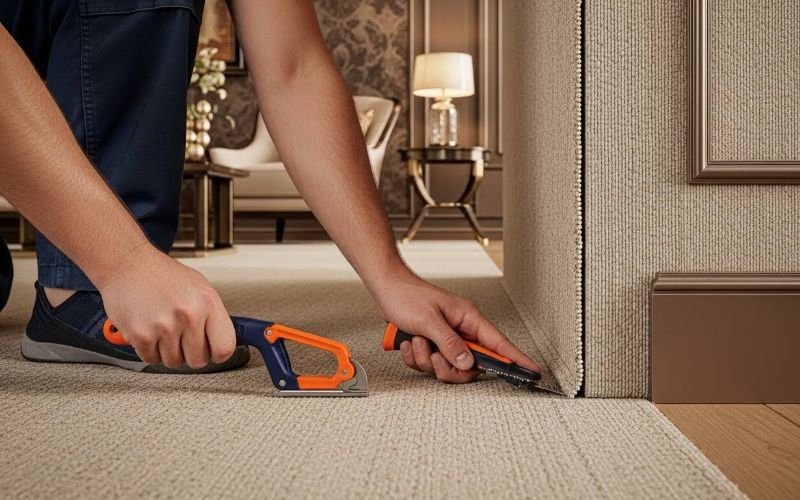
After all the placement of wall-to-wall carpet, it’s time to cut the extra corners of your carpet. To give a finished look to the floor cover, trimming is a very important step. Besides, use a hammer and nail and fit your carpet in tack strips. Afterwards, use a knee kicker and stretch the carpet all over the room. Further, stretch the corners of the carpet to perfectly fit it on the floor surface. This step will eliminate all the wrinkles that previously appeared on the carpet. Making a smooth and seamless carpet look.
Wrinkle Removal & Seaming
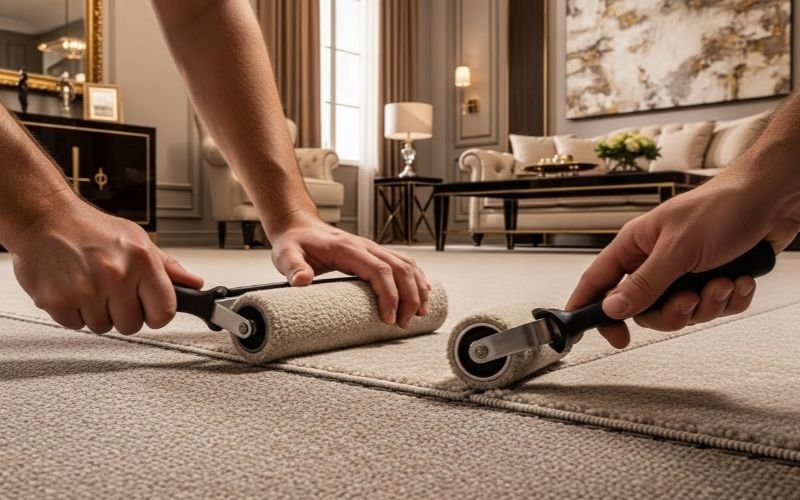
The concluding steps in wall-to-wall carpet installation are seaming and wrinkle removal. After stretching the carpet, use seaming tape and secure the corners. Further, make sure to use seaming irony to perform this step. Besides, the heat of iron can fix the nooks and corners perfectly.
Wrapping Up
Wall-to-wall carpet gives a flawless and cohesive interior look. That is why it is the choice of every homeowner. Besides, you can get wall-to-wall carpet installation within your budget by using the DIY techniques given above. Further, level the subfloor and add padding for a smoother walk. Moreover, utilise high-quality carpet, such as nylon or olefin, for long-lasting results. Next, place the carpet using a staple-down method. Moreover, remove the carpet wrinkles using a knee kicker. Seam the floor cover with seaming tape. By following all the above steps, you can achieve a seamless wall-to-wall carpet installation in your home.